
Portal 2 co-op guide: mastering every test chamber with your partner
Welcome to the ultimate portal 2 co-op guide designed to help you and your partner conquer every test chamber with precision and teamwork. Valve's masterpiece offers one of the most satisfying cooperative experiences in gaming history, but success requires more than just quick reflexes—it demands perfect communication and strategic role division. Whether you're new to cooperative puzzle-solving or looking to master advanced techniques, this comprehensive walkthrough will reveal the strategies that separate good teams from exceptional ones.
Quick Answer
Portal 2 co-op features 13 test chambers plus 5 advanced chambers that require perfect synchronization between players. The best approach involves establishing clear communication protocols, assigning roles based on each chamber's unique challenges, and practicing advanced techniques like flinging and redirecting gels. While you can play with friends on different platforms through cross-platform play, the experience is optimized when both players understand the mechanics thoroughly.
Understanding Portal 2 Co-op Fundamentals
The Co-op Experience
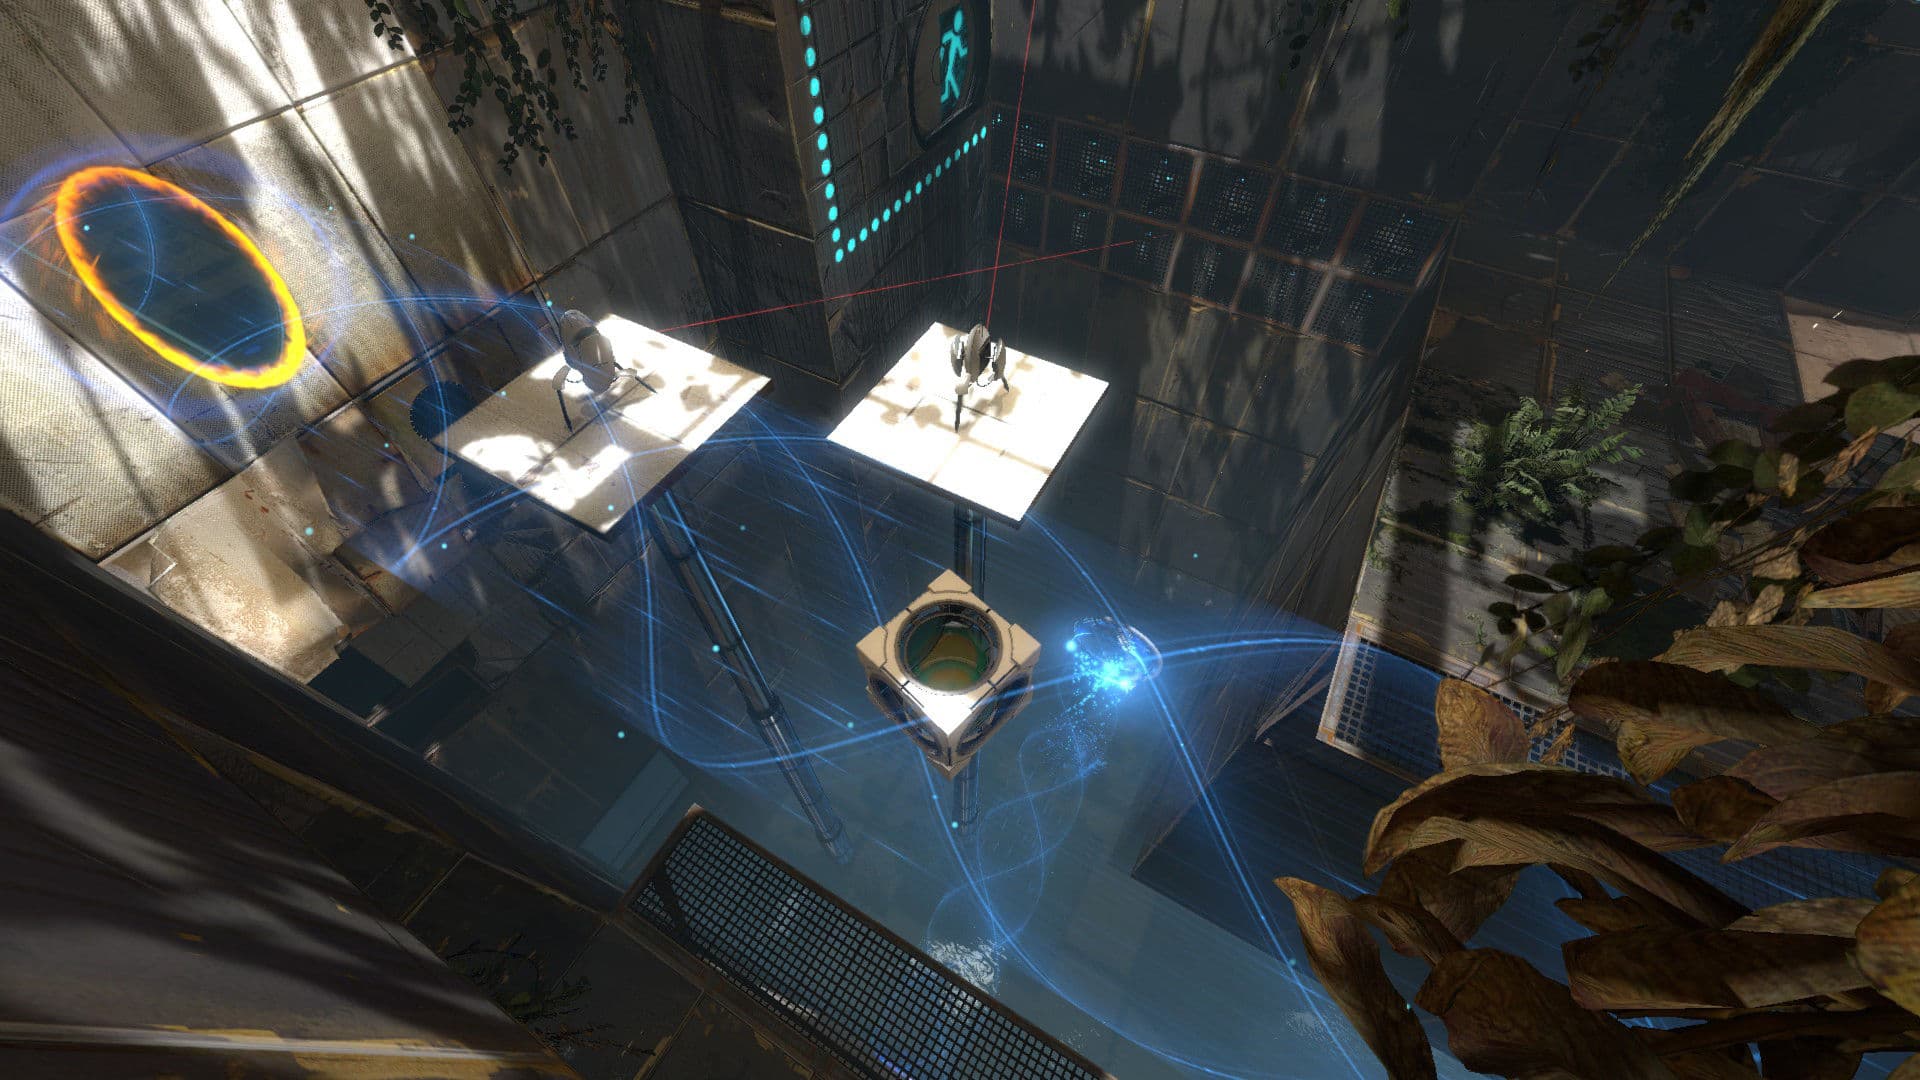
Portal 2's cooperative campaign was revolutionary when it launched, offering two players simultaneous control of separate portal guns while navigating increasingly complex test chambers. Unlike single-player, the co-op mode emphasizes teamwork, communication, and spatial reasoning in ways that make the puzzles feel entirely fresh.
Communication is Key
Effective communication forms the foundation of successful portal 2 co-op gameplay. Without clear communication, even simple puzzles can become frustrating nightmares. Establish a system before starting—whether it's using voice chat with standardized callouts or coordinating through gestures and planned movements.
Tip: Create a shared vocabulary for common elements. For example, designate "blue portal" and "orange portal" consistently, and agree on directional terms (your left/right vs. screen left/right) to avoid confusion during complex maneuvers.
Role Division Strategies
Not all players have the same strengths. In portal 2 co-op, identifying and leveraging each player's strengths through strategic role division can dramatically improve your efficiency. Some chambers naturally lend themselves to specific roles:
- Portal Specialist: Focuses on creating precise portal placements
- Movement Director: Plans and executes complex flinging maneuvers
- Environmental Controller: Manages gels, light bridges, and other environmental elements
- Puzzle Coordinator: Oversees the overall solution approach
Test Chamber Walkthroughs
Test Chamber 1: Introduction
This chamber introduces basic mechanics where each player creates portals on designated surfaces.
Solution:
- Player 1 creates an orange portal on the raised platform
- Player 2 creates a blue portal on the angled wall below
- Player 1 steps through their orange portal to reach the exit
Hidden Trick: The chamber can be completed faster if both players create their portals simultaneously while moving toward their respective surfaces.
Test Chamber 2: Angled Portals
This chamber teaches players about creating portals on angled surfaces.
Solution:
- Player 1 creates an orange portal on the ceiling angled toward the exit
- Player 2 creates a blue portal on the floor beneath the exit
- Player 1 drops through their orange portal and emerges from Player 2's blue portal
Communication Strategy: Call out "ceiling orange" and "floor blue" to ensure clear understanding.
Test Chamber 3: Redirecting
This chamber introduces redirecting lasers using portalable surfaces.
Solution:
- Player 1 creates an orange portal on the angled wall near the laser emitter
- Player 2 creates a blue portal on the angled wall near the receptor
- The laser redirects through both portals to activate the door
Role Division: Player 1 handles the laser emitter side while Player 2 focuses on receptor alignment.
Test Chamber 4: Synchronized Movement
This chamber requires both players to move through portals simultaneously.
Solution:
- Both players create portals connecting the two elevated platforms
- Player 1 steps through first, followed immediately by Player 2
- Both players exit through the bottom portal to reach the exit
Tip: Practice counting down together ("3, 2, 1, go!") to ensure perfectly timed movement.
Test Chamber 5: Light Bridges
This chamber introduces light bridges that block movement but allow lasers to pass through.
Solution:
- Player 1 creates an orange portal on the ceiling near the laser emitter
- Player 2 creates a blue portal on the floor near the receptor
- Player 2 also creates a light bridge to block the gap
- The laser passes through the light bridge and portals to activate the door
Communication Strategy: Clearly indicate when to place the light bridge ("bridge blue now") to avoid blocking your own path.
Test Chamber 6: Funnel Gels
This chamber introduces gels that affect movement speed and surface properties.
Solution:
- Player 1 creates an orange portal on the ceiling above the blue gel
- Player 2 creates a blue portal on the angled wall near the exit
- Player 1 goes through the blue gel, which propels them through the orange portal
- Player 2 catches Player 1 and sends them through the blue portal to the exit
Hidden Trick: The white repulsion gel can be used to create additional momentum if used strategically.
Test Chamber 7: T-Beam Redirect
This chamber introduces tractor beams that pull objects toward them.
Solution:
- Player 1 creates an orange portal on the wall near the tractor beam
- Player 2 creates a blue portal on the wall near the exit
- Player 1 places a cube in the tractor beam, which pulls it through their orange portal
- The cube emerges from Player 2's blue portal and lands on the button to open the exit
Role Division: Player 1 manages the tractor beam and cube placement while Player 2 handles exit positioning.
Test Chamber 8: Synchronized Lasers
This chamber requires both players to redirect lasers simultaneously.
Solution:
- Player 1 creates an orange portal on the angled wall near their laser emitter
- Player 2 creates a blue portal on the angled wall near their laser emitter
- Both players redirect their lasers through the portals to hit the receptors simultaneously
Communication Strategy: Count down together to ensure simultaneous laser activation.
Test Chamber 9: Gels and Light Bridges
This chamber combines gels, light bridges, and portal mechanics.
Solution:
- Player 1 creates an orange portal on the ceiling above the blue gel
- Player 2 creates a blue portal on the wall near the exit
- Player 2 also places a light bridge to cross a gap
- Player 1 goes through the blue gel, gaining speed through the orange portal
- Player 2 catches Player 1 and sends them through the blue portal to the exit
Hidden Trick: The speed gel can be used to cross gaps faster if you time your portal placement correctly.
Test Chamber 10: Hard Light Bridges
This chamber introduces hard light bridges that can walk on.
Solution:
- Player 1 creates an orange portal on the ceiling near the laser emitter
- Player 2 creates a blue portal on the floor near the receptor
- Player 2 places a hard light bridge to walk on
- The laser passes through the bridge and portals to activate the door
Communication Strategy: Call out "bridge placement" to avoid blocking your partner's path.
Test Chamber 11: Faith Plates and Gels
This chamber combines faith plates, gels, and portal mechanics.
Solution:
- Player 1 creates an orange portal on the wall near the faith plate
- Player 2 creates a blue portal on the wall near the exit
- Player 1 stands on the faith plate, launching them through the orange portal
- Player 2 catches Player 1 and sends them through the blue portal to the exit
Hidden Trick: The repulsion gel can be used to alter your trajectory after being launched from a faith plate.
Test Chamber 12: T-Beam and Light Bridge
This chamber combines tractor beams, light bridges, and portal mechanics.
Solution:
- Player 1 creates an orange portal on the wall near the tractor beam
- Player 2 creates a blue portal on the wall near the exit
- Player 2 places a light bridge to block a gap
- Player 1 places a cube in the tractor beam, pulling it through their orange portal
- The cube emerges from Player 2's blue portal and lands on the button to open the exit
Role Division: Player 1 manages the tractor beam and cube placement while Player 2 handles exit positioning and light bridge placement.
Test Chamber 13: Synchronized Faith Plates
This chamber requires both players to use faith plates simultaneously.
Solution:
- Player 1 creates an orange portal on the wall near their faith plate
- Player 2 creates a blue portal on the wall near the exit
- Both players stand on their faith plates simultaneously
- Player 1 emerges from Player 2's blue portal, and Player 2 emerges from Player 1's orange portal
- Both players reach the exit together
Communication Strategy: Count down together to ensure simultaneous faith plate activation.
Advanced Test Chamber 1: Time-Traveling Portals
This advanced chamber introduces time-traveling mechanics.
Solution:
- Player 1 creates an orange portal on the wall near the past button
- Player 2 creates a blue portal on the wall near the present exit
- Player 1 presses the past button, sending them to the past
- Player 1 creates a new orange portal in the past
- Player 2 creates a blue portal connecting to the past orange portal
- Player 1 returns to the present through the blue portal
Hidden Trick: You can create multiple time-traveling portals to solve complex temporal puzzles.
Advanced Test Chamber 2: Quantum Tunneling
This advanced chamber introduces quantum tunneling mechanics.
Solution:
- Player 1 creates an orange portal on the quantum tunnel entrance
- Player 2 creates a blue portal on the quantum tunnel exit
- Both players enter their respective quantum tunnels simultaneously
- Both players emerge from the opposite quantum tunnels
Communication Strategy: Call out "tunnel entry" and "tunnel exit" to ensure proper positioning.
Advanced Test Chamber 3: Synchronized Redirection
This advanced chamber requires precise synchronized redirection.
Solution:
- Player 1 creates an orange portal on the angled wall near their laser emitter
- Player 2 creates a blue portal on the angled wall near their laser emitter
- Both players redirect their lasers through the portals to hit the receptors simultaneously
- The door opens, revealing the exit
Role Division: Player 1 focuses on laser alignment while Player 2 manages timing.
Advanced Test Chamber 4: Faith Plates and Light Bridges
This advanced chamber combines faith plates, light bridges, and portal mechanics.
Solution:
- Player 1 creates an orange portal on the wall near the faith plate
- Player 2 creates a blue portal on the wall near the exit
- Player 2 places a light bridge to block a gap
- Player 1 stands on the faith plate, launching them through the orange portal
- Player 2 catches Player 1 and sends them through the blue portal to the exit
Hidden Trick: The light bridge can be used to alter your trajectory after being launched from a faith plate.
Advanced Test Chamber 5: Final Challenge
This final chamber combines all mechanics learned throughout the game.
Solution:
- Player 1 creates an orange portal on the ceiling above the blue gel
- Player 2 creates a blue portal on the wall near the exit
- Player 2 places a hard light bridge to walk on
- Player 1 goes through the blue gel, gaining speed through the orange portal
- Player 2 catches Player 1 and sends them through the blue portal to the exit
- Both players press the exit buttons simultaneously
Communication Strategy: Use clear, concise callouts to coordinate the complex sequence of actions.
Quick Reference Tables
Portal 2 Co-op Test Chamber Checklist
Portal 2 Co-op Communication Guide
Portal 2 Co-op Hidden Secrets
Secret Chambers
Throughout the co-op campaign, several hidden chambers contain bonus puzzles and Easter eggs. These chambers are marked with small heart symbols on the walls and often contain unique challenges not found in the main chambers.
Developer Commentary
Complete all test chambers (including advanced) to unlock developer commentary that provides insights into the design process and hidden secrets.
Alternate Solutions
Many chambers have multiple solutions. Experiment with different portal placements and environmental item usage to discover alternate routes and strategies.
FAQ
What is the best way to communicate in Portal 2 co‑op?
For portal 2 co-op guide: start with one core mechanic and practice it in a low-risk fight before scaling difficulty.
How many test chambers are there in Portal 2 co‑op?
For portal 2 co-op guide: avoid spreading points too thin—max your key skills before unlocking side branches.
Can you play Portal 2 co‑op with a friend on different platforms?
For portal 2 co-op guide: track progress by whether fights get shorter and safer after each gear/skill upgrade.
What are the hidden secrets in Portal 2 co‑op test chambers?
For portal 2 co-op guide: use potions, oils, and signs as a system, not as emergency buttons.
Do you need to complete single‑player first to play co‑op?
For portal 2 co-op guide: rebuild only after a full act so you can measure what actually improved.